Image Map
Showing posts with label DIY. Show all posts

Tuesday, April 8, 2014

Tip Tuesday: A Natural, and effective way to treat Acne!

Lately I've had a few mild breakouts, and I've had to whip up a batch of my go-to acne toner that works SO good! So, this post was born out of my misery. Your welcome. Now, before I get to the recipe that I use, I want to share with you a few insights that I have on the main ingredient for the recipe, Thyme.

Thyme has been studied a lot lately for use in acne treatment. The findings have been stellar with results being better than that of prescription acne medication! Wouldn't you rather put something natural on your face than something harsh that is made by a chemist that will do who knows what to your skin??

Remember that prescription drug that was used for acne a number of years ago that they found was linked to birth defects? Ya, awesome. I'm not saying that all prescription drugs are that bad, but the truth is we just don't know what effects they may have on our bodies! Thyme has been use for THOUSANDS of years. The ancient Egyptians used it! And, no known harms have ever been documented from it's use. This is why I choose to use this ingredient rather than something from a chemical lab that heaven knows what it will do to my skin or body.

As you can see, I'm very passionate about my skincare. I try to keep it as close to nature as possible, using oils and herbs that won't cause harm or premature aging. This acne treatment is very effective and uses something grown right out of the ground. Win, win for me!


I would recommend tossing this mixture after 2-3 weeks. Since we aren't putting any preservatives in it, it may start to spoil. This recipe will probably last you that long if you are using it twice a day, so if you are only going to use it a few times, make a smaller batch.

If you are interested in reading more about one of the studies found on Thyme and acne, click here.


Tuesday, March 25, 2014

Tip Tuesday: De-potting blushes

Have you ever heard of de-potting? I kind of go crazy with it. It is really easy to do and will really clear up the clutter in your makeup storage! Here is what you are going to need:

  1. Blush that you'd like to de-pot
  2. A thin, sharp metal object (I'm using a knife I got in a 4 pack from the dollar store)
  3. Flat Iron
  4. Small piece of Parchment paper
  5. Sharpie
  6. Empty magnetic pallet to put your de-potted goodness in when we're done
To start off, make sure your surface is stable and clean. Wash you hands and grab your product. Today I'll be showing you how to de-pot the Physicians Formula Blushes that I scored for $1 (read more about that here).

Open up both sides of the blush and place it on top of your flat iron (on the lowest heat setting), with parchment paper in between so you don't ruin your iron. Leave the blush on there for about 20 seconds. You don't want it too hot. Just warm enough to make the glue tacky. You could also use a candle or tea light for this. I like using a flat iron because I feel like you are less likely to burn yourself or your product with a flat iron. Just be careful with whatever you use in this step!

Next, take your thin sharp metal object. And slide it in between the pan and the product housing. Wiggle your metal object back and forth until you can get under the pan with your object.

Once you have your object underneath your pan, see saw until it pops free. Make sure you are super gentle, you don't want to ruin your blush!

Once it's out remove the glue residue from the back of the pan. This was very easy to do with these blushes, but you might have to get out the rubbing alcohol and scrub it off a little. I've worked with some that were way more tacky and hard to get off than these were. Again, make sure you are being careful, you don't want to break your blush!

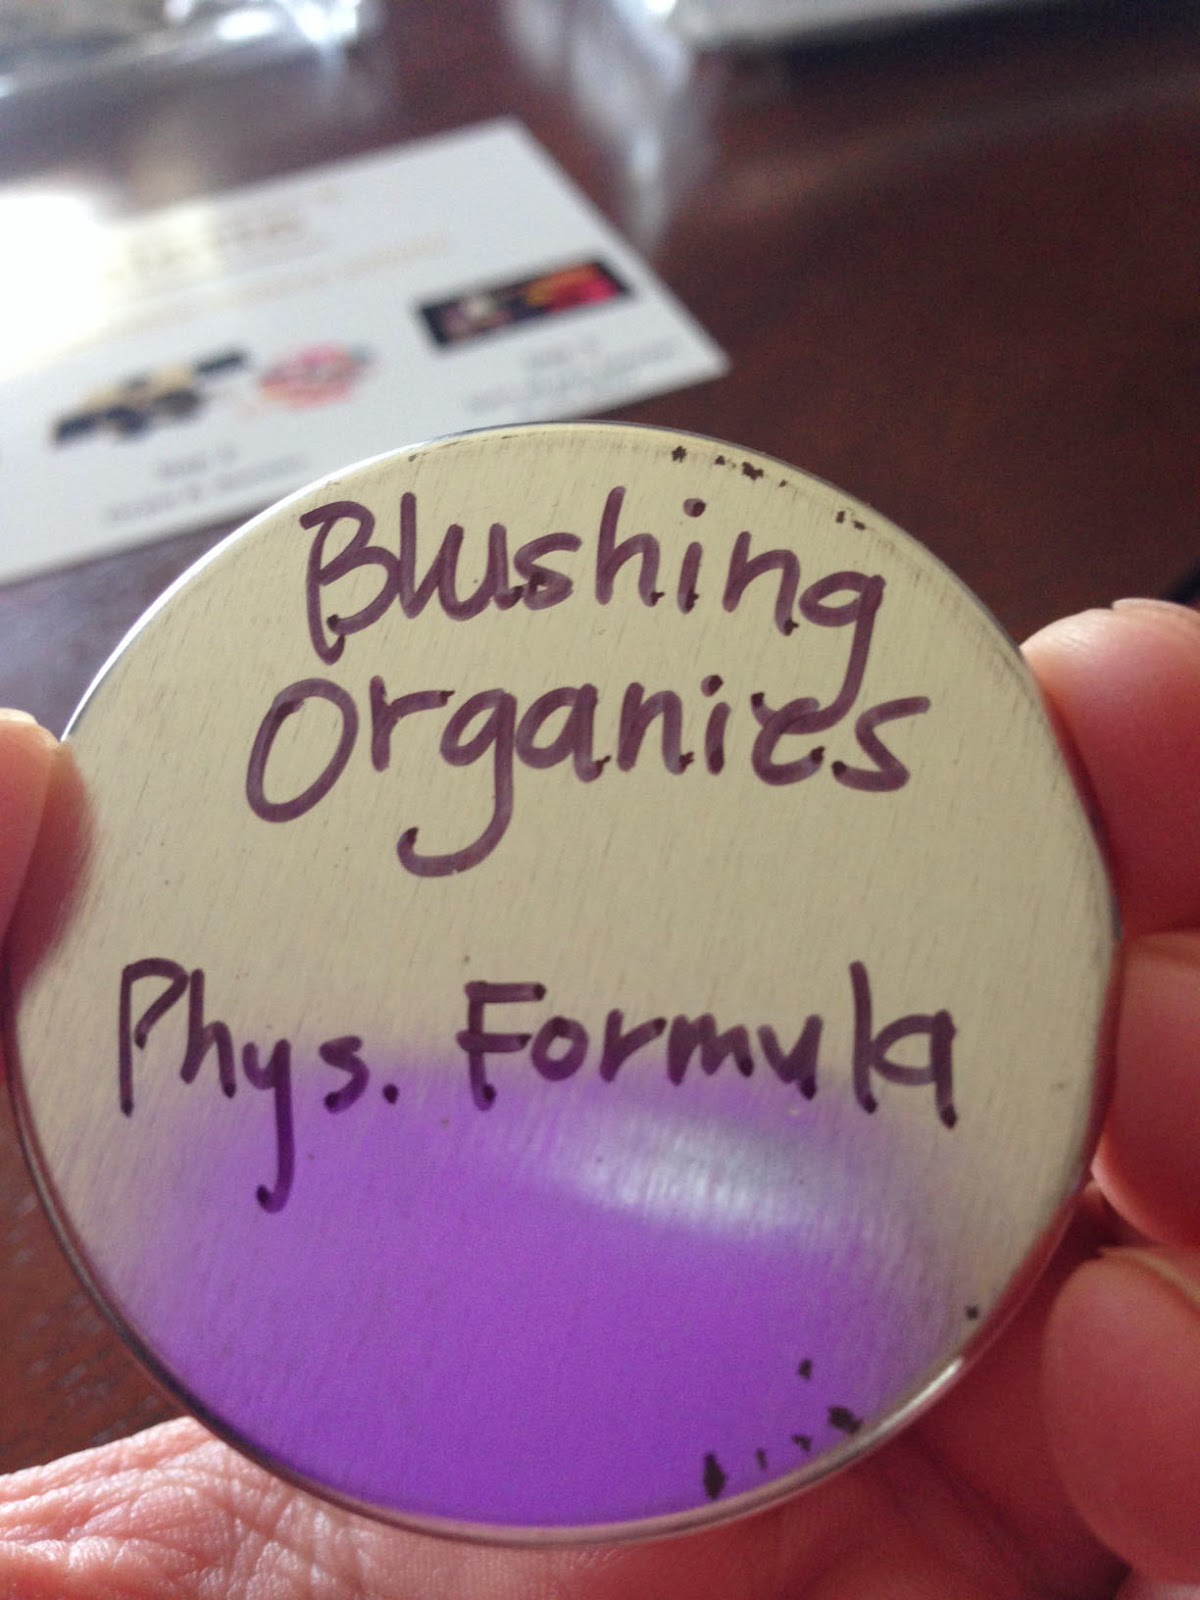
Label up the back of your pan for future reference of your product! Trust me, don't skip this step! Then, check to see if your pan is magnetic. If it isn't you'll want to put a magnet on the back (Z Pallets come with little round magnet stickers).

 Place it in your pallet and your DONE! Easy. And, your makeup clutter station will thank you!


Tuesday, March 18, 2014

Tip Tuesday: DIY Lip Balm

Remember when we pressed all those loose eye shadows, and we were left with a bunch of empty jars? Well, this week I'm going to give you a yummy recipe for your lips that you can use those jars for! I call this "White chocolate gloss". Today, I'll be making this with lemon flavoring, however, feel free to use whatever flavor you like. Or omit the flavoring, since the chocolate has great flavor on it's own. I just think that white chocolate, and lemon are a dream together. Here is what you'll need:


Small chunk beeswax (about the size of a small grape)- or other hard wax that is safe for cosmetic use
1 teaspoon coconut oil
1 teaspoon petroleum jelly
1 candy melts (I used yellow, since I'm making it with lemon)
Zip-top plastic baggie
Bowl of HOT water
1-3 drops of an oil-based candy flavoring (depending on how much flavor you want in your gloss - mine is obviously lemon flavored)
2-3 Clean Empty jars

Place the beeswax, coconut oil, petroleum jelly, & candy melt into the baggie and zip it shut. Then place it into your hot water.

Leave it there for 5-10 minutes, or until everything is melted together (the wax will be the last to melt, so make sure there are no small chunks), you may need to replace the hot water if it cools too much. Then massage the ingredients until they are smooth.

Dry off the outside of your baggy very well! You don't want water getting into your gloss. Then open your bag and drop in your flavoring. I used a medicine dropper for this, most pharmacy's will give them to you for free.

Snip the corner off of the baggy.

Start piping your gloss into your cleaned out jars. Tap the jars gently to get the gloss evened out. Then let them cool down. I placed mine in the fridge for a few hours.

This recipe filled 1 of my bigger jars, and 2 smaller jars. You can double or even triple the recipe if you want! These would make a great inexpensive gift, or they would be a great addition to a treat bag or gift bag for a party! Have fun, and make sure you come back for next tip Tuesday!


Tuesday, March 11, 2014

Tip Tuesday: How to Press loose eyeshadows

Do you have jars of loose eyeshadows or pigments that you never use because they are too messy or inconvenient? I did! I had been keeping a lot of loose eyeshadows in a case for 3 years and had barely touched them. Some even still had stickers over the sifters. I prefer pressed eyeshadows, so I decided that I would press my jars of loose eyeshadows. Here is what I did, and advice I learned while doingit!

What you'll need:
  1. Rubbing Alcohol (The higher the percentage, the better!)
  2. Loose eyeshadow
  3. Magnetic pans
  4. A coin that will nest inside of your pans (or a pressing tool)
  5. A pipette (or a medicine dropper - most pharmacy's give them to you for free)
  6. A cosmetic spatula
  7. A small dish
  8. A pallet for your eyeshadows once they are pressed
  9. Paper towels 
  10. More paper towels
  11. A sharpie to write on the back of your pans
 The first thing you need to do is cover your workspace. Things WILL get messy, so make sure you can clean it up easily. Some eyeshadows can stain. Then, you need to grab one of your pans, and label the back for reference. This eyeshadow I'm showing was from Everyday Minerals and it was called "Twilight Kiss".

Now comes the fun part. Make sure you wash your hands. Then grab the jar of eyeshadow, unscrew the cap, and remove the sifter with your fingernails. Be careful not to pry too hard, it shouldn't be terribly difficult to get off. Then empty the powder into your clean dish.

 Squeeze some alcohol into your pipette, and start dropping it into your eyeshadow. Only do a few drops at a time. Then you are going to start mixing it together with your spatula.

 Keep adding drops of alcohol and stir until you have the consistency of wet sand. You want it to clump together, but you don't want it too wet.

Now, start to carefully scrape the wet eyeshadow into your pan.

Once you've got it in there, you need to grab a paper towel and place it over your pan of eyeshadow, then place your coin on top and PRESS HARD.

Take of the paper towel carefully, and that's it! You're done with the hard part. Now you just need to let it air out for a solid 24 hours so that all that alcohol dissipates. My shadows were dry to the touch after about 3 hours, and didn't smell like alcohol at all, but I still waited to use them just in case. I'd say after 24 hours you will definitely be okay to use them.


A few things I learned while I was doing this:

  • All of the shadows I used were "mineral" eyehshadows, however some of them did not bind very well with only alcohol and crumbled after they dried. If this happens try mixing them again with a few drops of biosilk or another silicone-based hair styling aid and the alcohol. I had to re-press about 7 of the 20 eyeshadows I did with biosilk.
  • Try to get the eyeshadow in the pan as evenly as you can. I didn't with some, and thought that by pressing with the coin it would even out, and I was wrong. There were holes where I didn't place the product. 
  • This didn't happen to me, but I read on a website that magnetic pans are made with tin, and non magnetic pans are made with aluminum. Since mine were magnetic they were tin, and tin will rust when contacted with water for an extended period of time, so using a higher percentage of alcohol will reduce the risk of rusting. If you can find 99%, then get it. My drug store's highest was 91%, and I have yet to see any problems 1 week after pressing. 

This was such a fun project, and I feel like I got a brand new pallet of eyeshadows, since I wasn't using these anyway in the jars.

Make sure you keep your jars! I'll be showing you what you can use them for in following weeks!